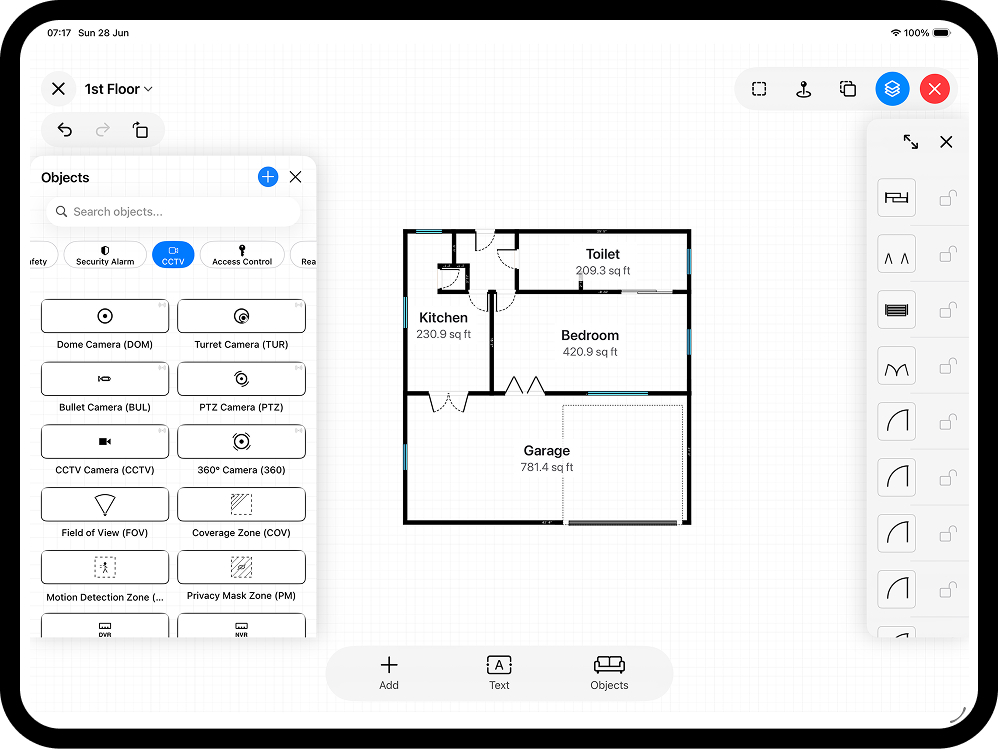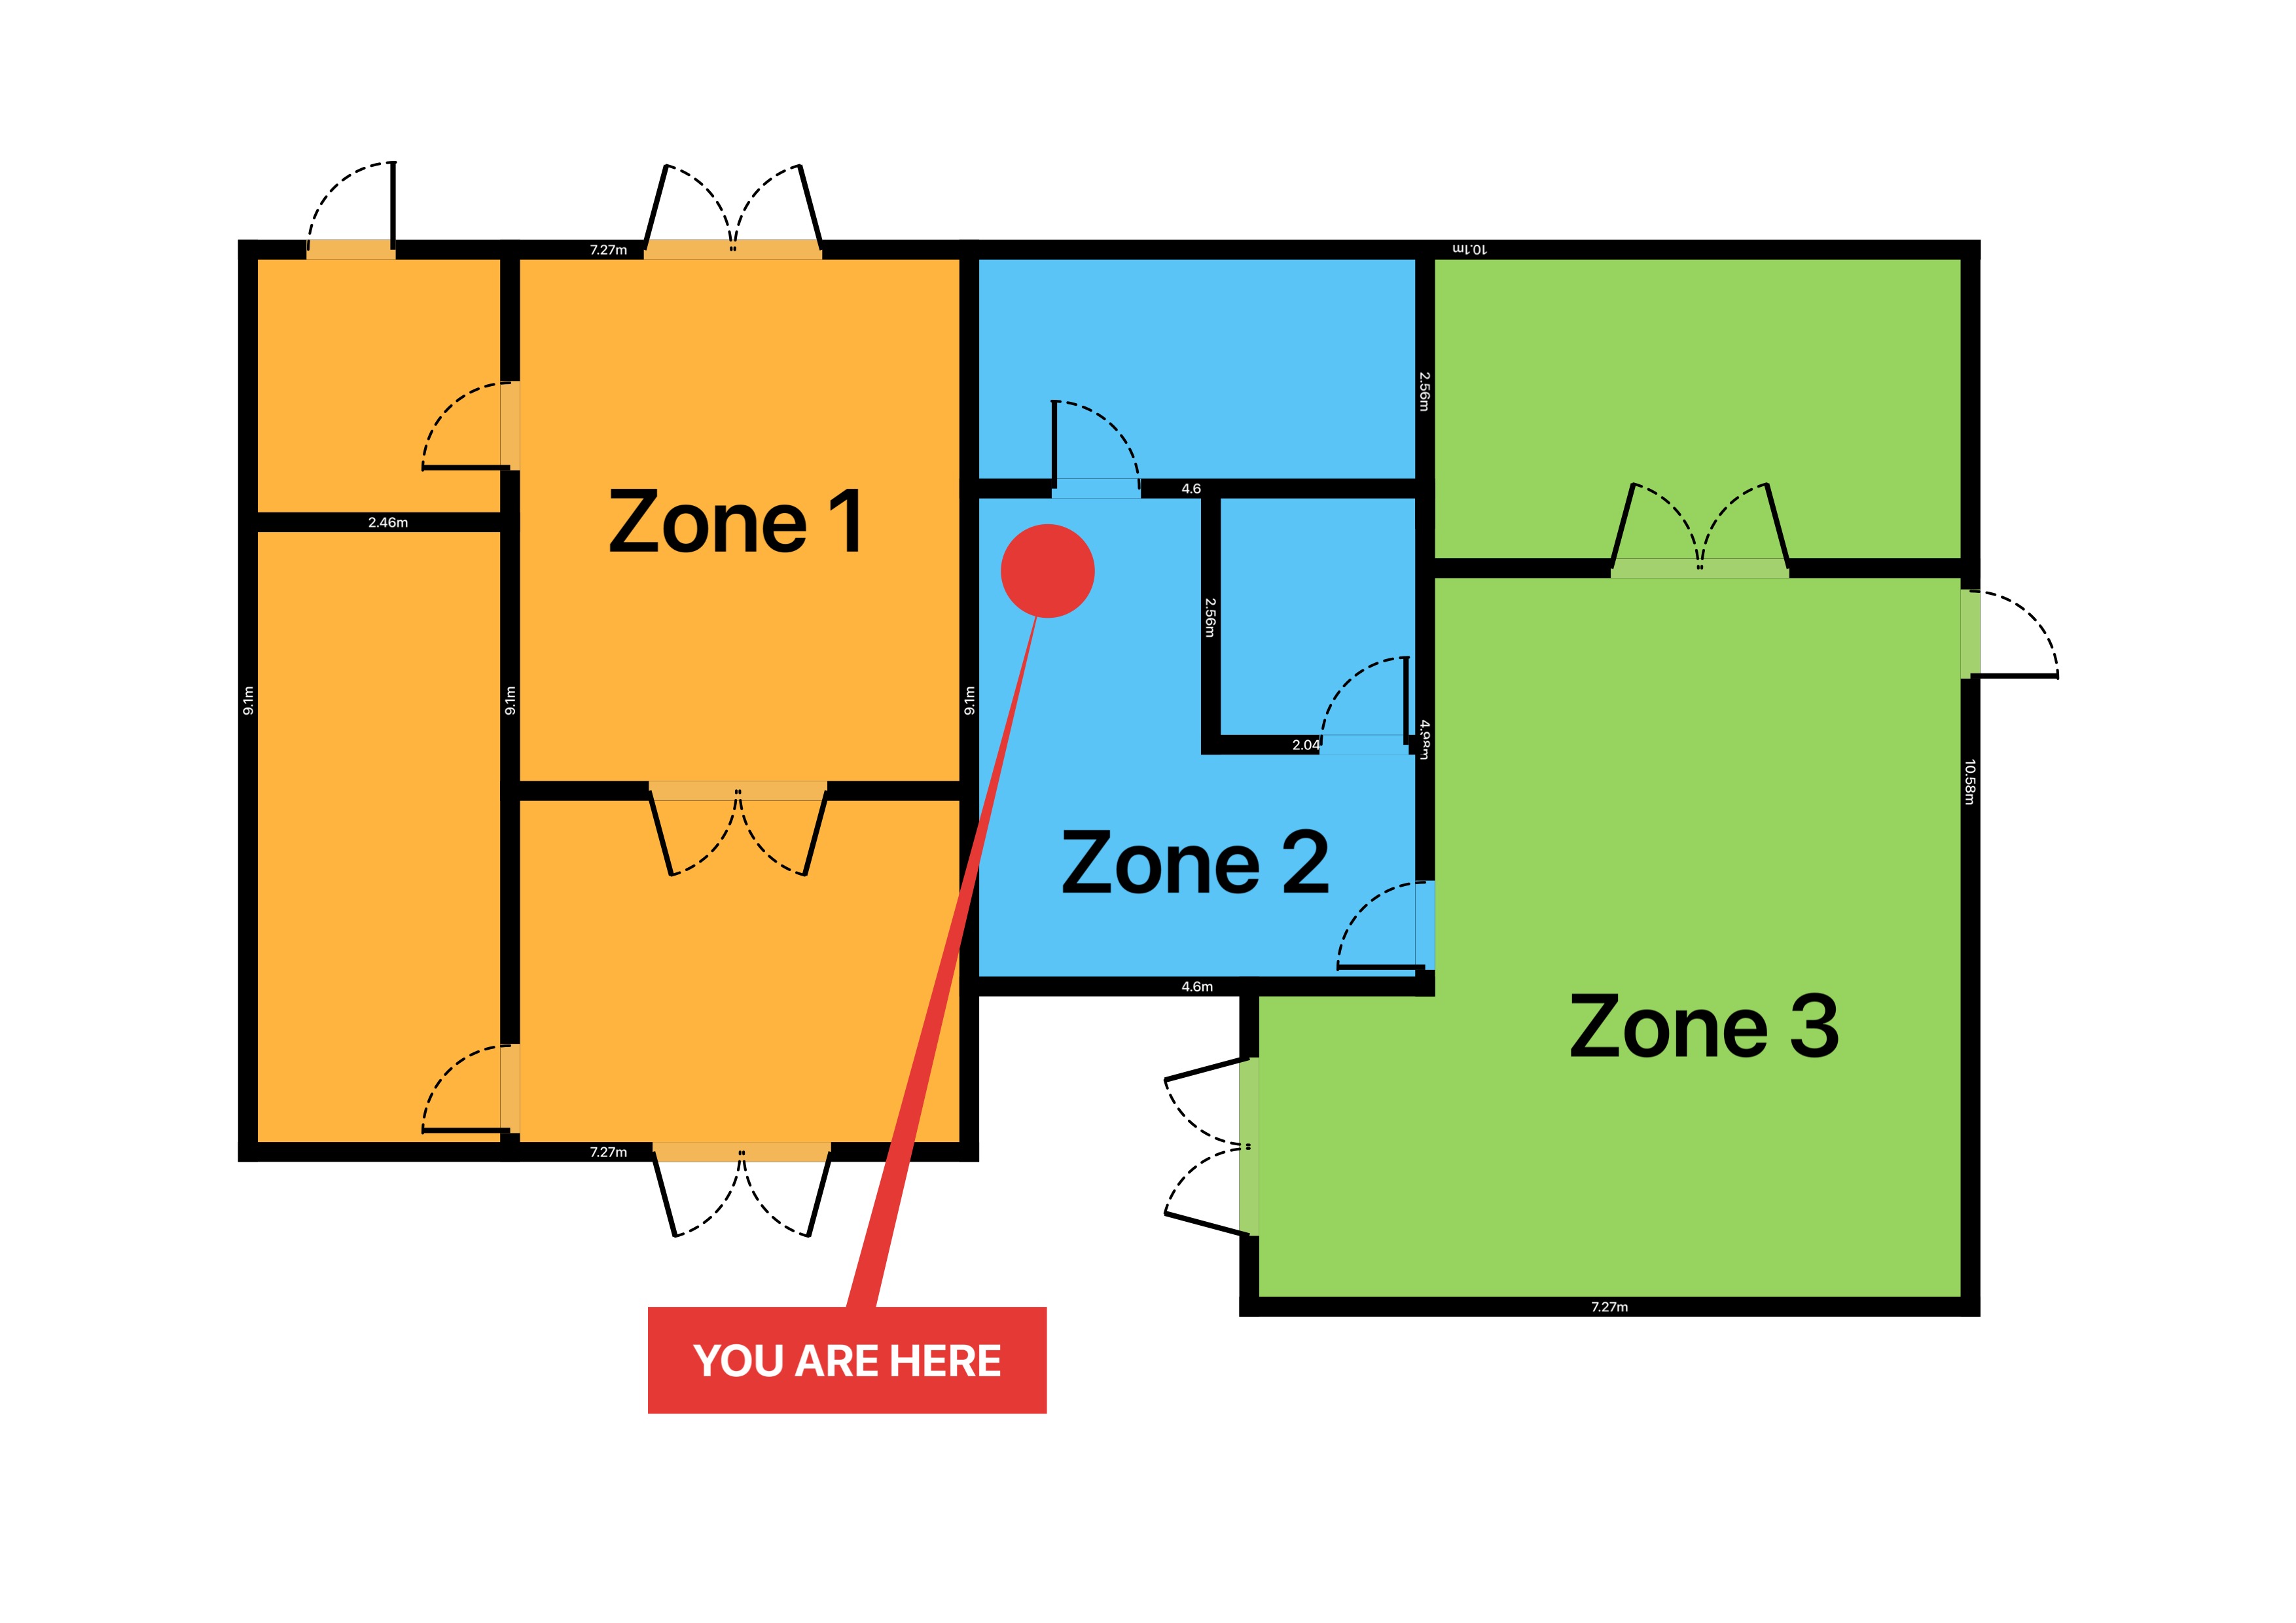
An as-built floor plan records a building exactly as it stands today - the real walls, the real openings, the real measured dimensions - not what a designer once drew. Architects, surveyors, space planners and property managers all start from one, because every refurbishment quote, lease plan and area calculation depends on knowing what is actually there. This guide explains what an as-built plan is, how accurate it needs to be, and how to produce one in a single site visit with RoomPlot.
What an as-built plan is (and what it is not)
An as-built (or existing-conditions) drawing documents a structure after it has been built or altered, capturing walls, doors, windows and fixed elements at their measured positions. It is needed whenever the original drawings no longer reflect reality - after an extension, a fit-out, decades of undocumented changes, or simply because no drawings survive. Building owners use it to work out gross and lettable areas, designers use it as the base for a proposal, and contractors use it so a quote is priced against the real room rather than an out-of-date set of drawings.
Two things it is not. It is not a condition survey: an RICS Level 2 or Level 3 building survey reports on damp, cracks and defects, not dimensions an architect can design from. And it is not necessarily a full measured building survey - the formal, surveyor-produced package of floor plans, elevations and sections governed by the RICS Measured Surveys of Land, Buildings and Utilities (3rd edition) guidance. An as-built floor plan is the everyday version of the same idea: a trustworthy, correctly scaled record of the plan geometry, produced fast enough to be practical on every job.
How accurate does it need to be?
The one rule is that an as-built is only worth having if its dimensions can be trusted - but "accurate" is a specification, not an absolute. The RICS measured-survey guidance grades work into accuracy bands: at the tight end, survey-grade laser-scanned drawings are typically produced to around ±5 mm, while looser bands allow ±25 mm or more where the purpose does not justify the cost. Modern iPhone and iPad LiDAR sits comfortably in the middle: independent testing consistently puts wall lengths and room dimensions within roughly 1-2 cm in a normal interior, which is ample for space planning, refurbishment quotes, marketing plans and area schedules. Match the tool to the deliverable: a party-wall dispute or structural package justifies a chartered measured survey; a fit-out brief, landlord record or installer's working drawing rarely does.
One convention worth copying from professional practice: floor plans are conventionally cut at about 1.2 m above finished floor level, so measure and record openings at that height, and note anything you could not access (a locked room, a boarded void) rather than guessing it.
Capture the existing conditions
Traditionally this meant a tape, a clipboard and hours of sketching, followed by days of CAD drafting. RoomPlot collapses it to a walk around the property:
- LiDAR AR scan on a Pro iPhone or iPad captures walls, doors, windows and openings to their true size in seconds, and merges room after room into one structure across the whole property.
- Manual drawing on any device starts from a room-shape template; type each measured length and smart snapping keeps the corners square. See LiDAR scan vs manual drawing for when to use which.
- Multi-floor projects record each storey and switch between them, so a whole building lands in one file.
- Notes, photos and voice memos pin the context an as-built lives on - meter positions, service runs, ceiling heights, defects - to the exact spot on the plan, so nothing relies on memory back at the desk.
Because the geometry comes from the scan rather than a guess, the plan is correctly scaled from the first second - which is the whole point of an as-built. Add the North marker so orientation is unambiguous, and pick metric or imperial to match the client.
Tidy the geometry and add the areas
A raw scan needs a light edit before it is a drawing. RoomPlot lets you move, resize, rotate, add or delete any wall, door or window after capture, in 2D or 3D, so you can square up a noisy corner or set an exact dimension where you taped a critical opening. Then add the numbers an as-built is bought for: zone labels with automatic per-room areas, and a floor-area figure in m² or ft².
State the basis of the area on the drawing. UK practice is currently in transition: the RICS Property Measurement (2nd edition) standard was archived in 2025, and RICS now directs members to measure to either the Code of Measuring Practice (6th edition) definitions - GEA, GIA and NIA - or to IPMS: All Buildings, and to document which basis was used. For most as-builts the client wants gross internal area (GIA), measured to the inside face of the perimeter walls. Whatever you use, label it - "GIA 23.8 m², as built" on the plan removes an entire category of dispute. Our guide to calculating floor area walks through the definitions.
Deliver it in the right format
An as-built is only useful if it lands in the recipient's workflow. RoomPlot exports a single-page PDF or a PNG/JPG image (A4, 300 dpi or 1080p) for a quick record; a multi-page branded PDF report with a plan summary and area schedule for a formal deliverable; and DXF geometry that opens in any CAD package at real-world size, so the next designer builds on your measurements instead of re-surveying. For clients who want to walk the space, a USDZ export drops the model into 3D on any Apple device. Keep the project in the app - with iCloud sync it follows you between iPhone and iPad - and the next alteration starts from an as-built that is already up to date.
Quick workflow checklist
- Agree the purpose and the accuracy it justifies (marketing plan, fit-out base, area schedule).
- Scan or draw every room, floor by floor, before editing anything.
- Pin photos and notes to anything the geometry cannot capture.
- Tidy walls and openings, then check two or three tape-verified dimensions against the plan.
- Add room labels, areas and the North marker; state the measurement basis.
- Export in the recipient's format - PDF report for the client, DXF for the designer.