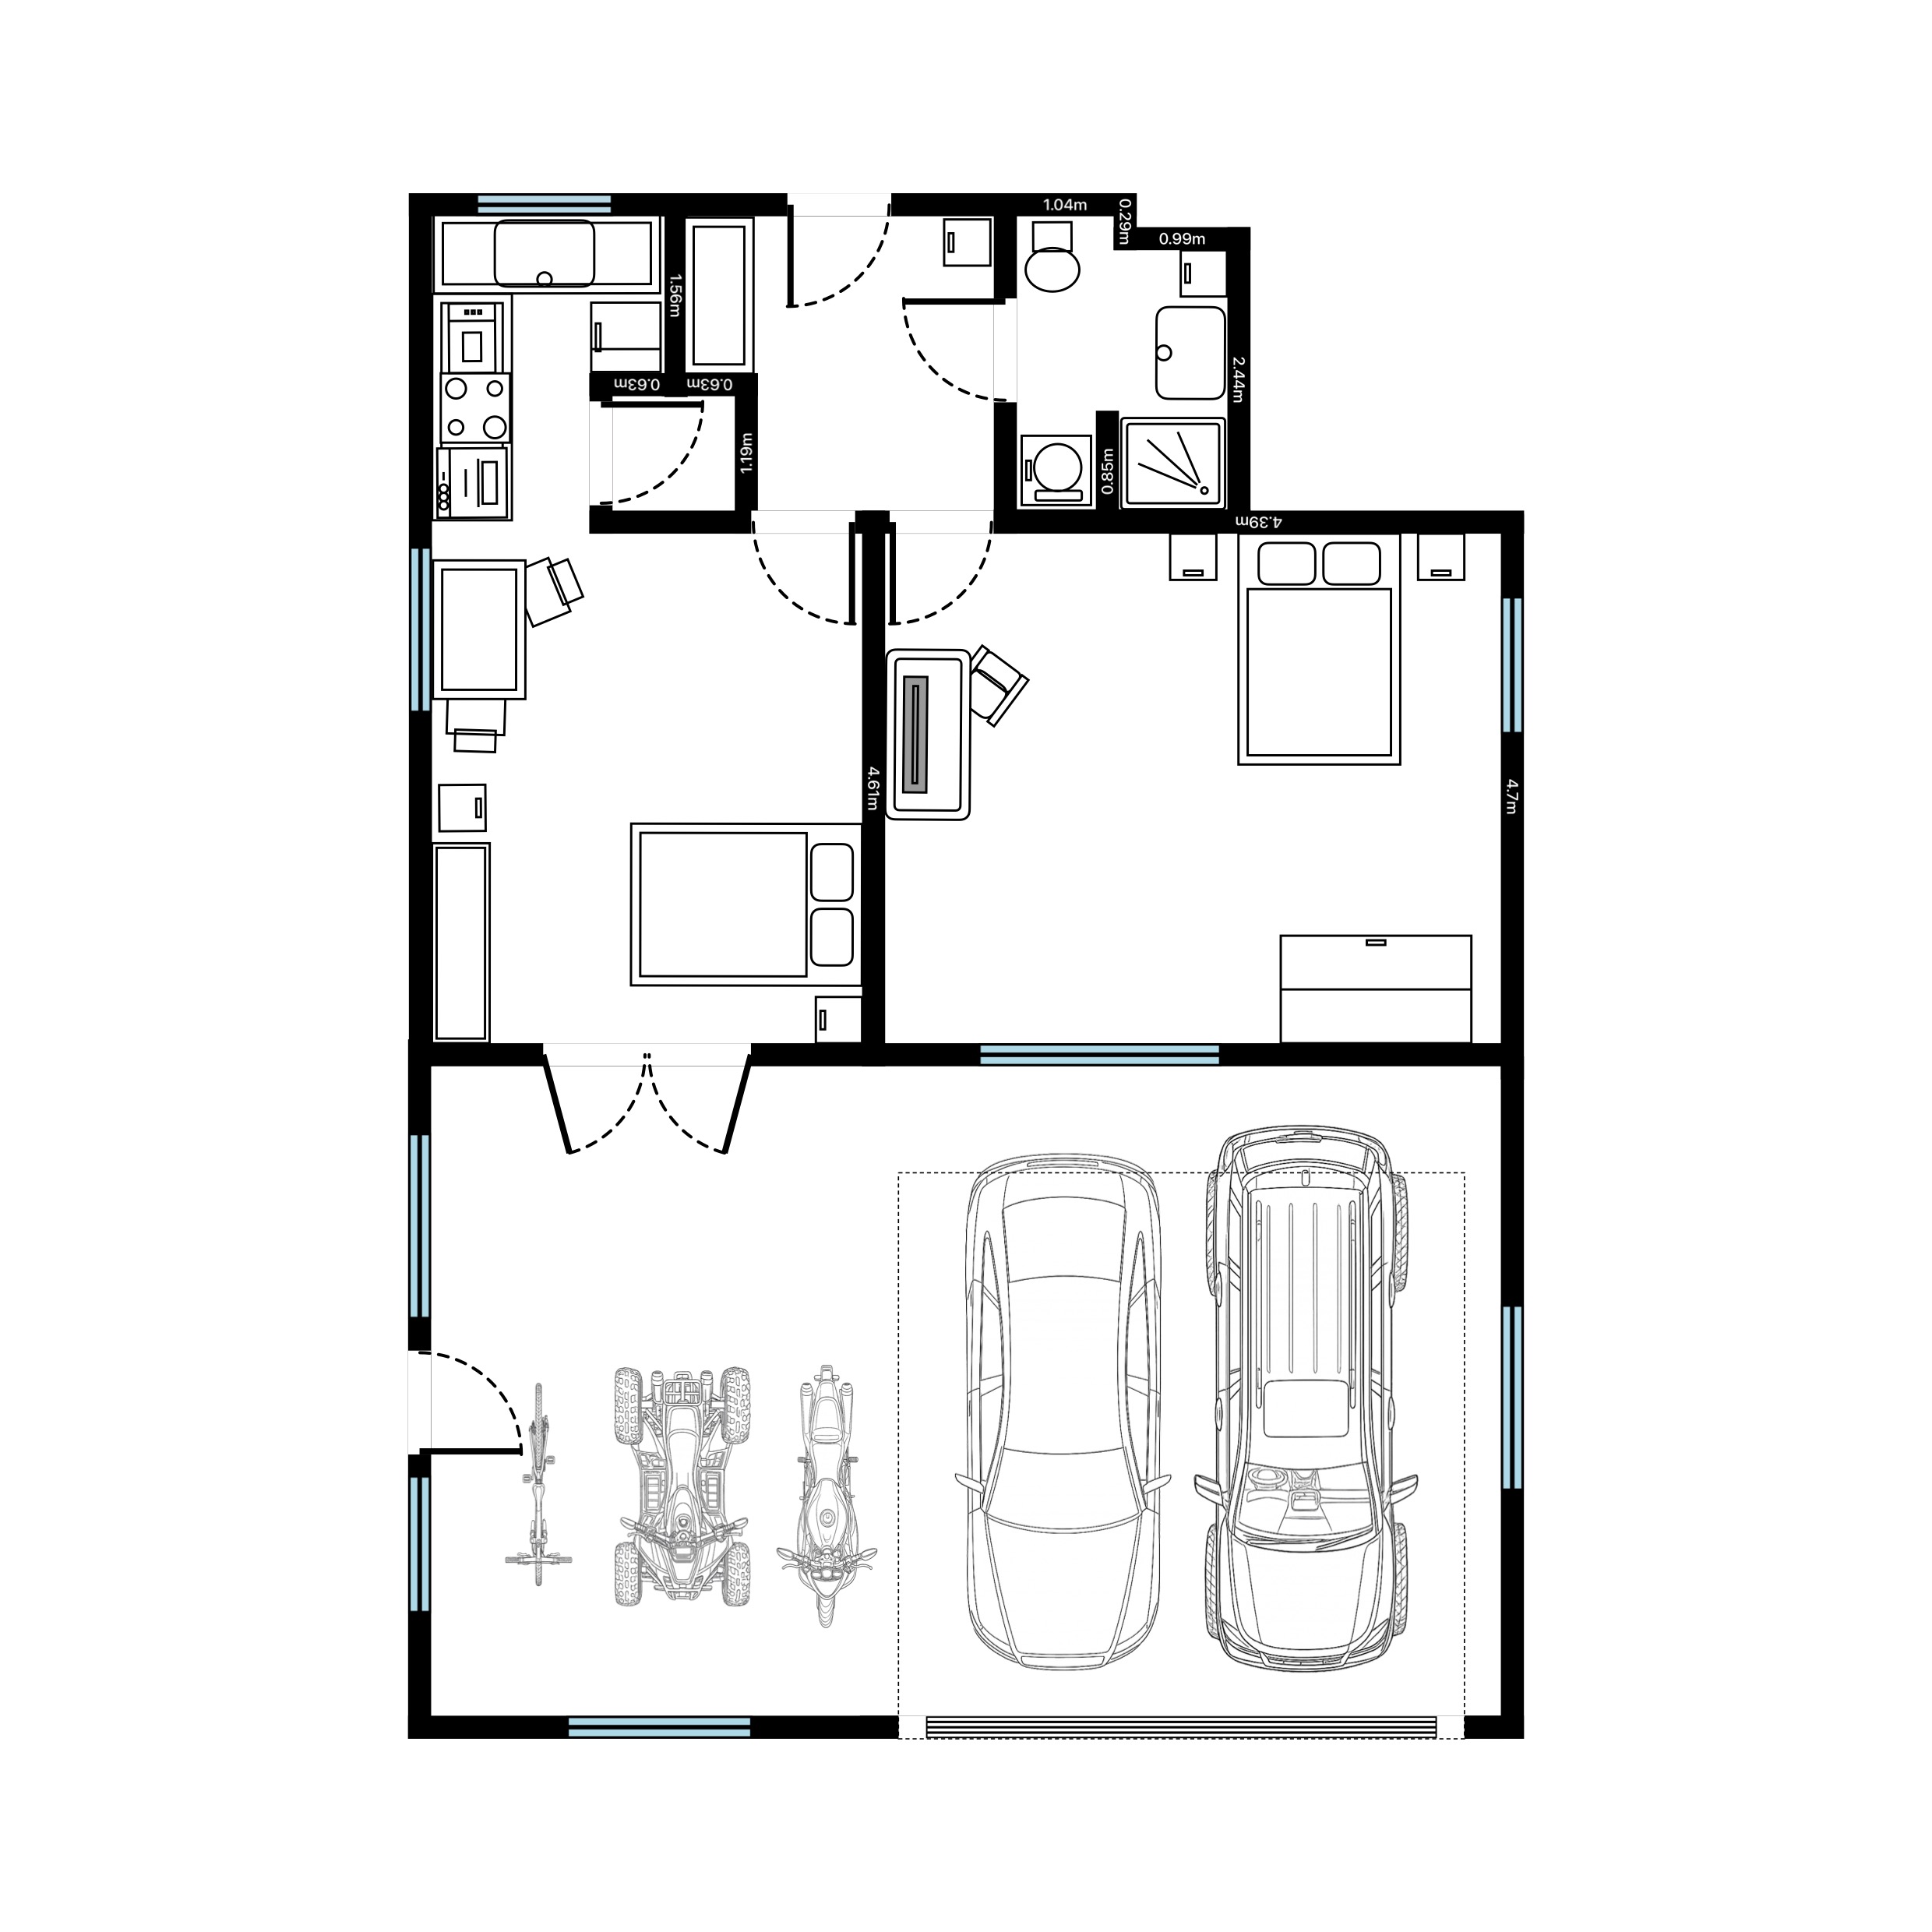
A kitchen is the hardest room in the house to plan and the easiest to get wrong. Get the spacing off by a few centimetres and a dishwasher door fouls a drawer, an island blocks the oven, or the fridge can't open against the wall. A measured, to-scale floor plan settles those arguments before anyone orders a worktop - and the numbers that make a kitchen work are well established: 1,200 mm between facing runs, a work triangle under 7.9 m, at least a metre of walkway around an island. This guide shows how to draw a kitchen plan on your iPhone or iPad that hits those numbers - the walls, the units, the appliances, and a tidy export to share with a fitter or client.
Start with an accurate shell
Everything downstream depends on the room being the right size, so capture the walls first. On a Pro device, scan the kitchen with LiDAR and RoomPlot detects the walls, doors, and windows automatically. On any other device, pick a room-shape template - Square, Rectangle, or one of the four L-shape orientations - and drag the walls to your measured lengths. Snapping and the grid keep corners square, and you can type an exact length for any wall so the plan matches your tape. If you're measuring by hand, our room measuring guide covers the routine: measure at worktop height, check both ends of every wall, and take a diagonal to catch out-of-square rooms - older kitchens are rarely as rectangular as they look.
Mark the door swings and windows precisely. A door that opens into the room eats a full unit's worth of wall, and a window sill at 900 mm decides where the sink run can go. Add the North marker if the client cares about morning light over the breakfast bar.
Tip. Note the position of the soil stack, the gas point, the extract route, and the consumer unit before you place a single unit. Moving plumbing and gas is the expensive part of a kitchen - gas work needs a Gas Safe registered engineer and most new kitchen circuits fall under Part P of the Building Regulations - so a plan that respects what's already there tends to be the plan that gets built.
Know the standard sizes before you draw
UK kitchens are built on a 600 mm module, which makes them satisfyingly easy to plan once you know the numbers:
- Base units - carcase depth about 560 mm, roughly 600 mm to the door face, in widths of 300, 400, 450, 500, 600, 800, 900 and 1,000 mm.
- Worktops - 600 mm deep as standard, finished height around 900 mm.
- Appliances - dishwashers, ovens and hobs are almost all built to the 600 mm module; freestanding fridge-freezers run 600-700 mm wide, while American-style fridges are around 915 mm and deeper than the worktop.
Draw units at their real widths from the start. A plan built from actual 600 mm and 400 mm modules either fits the wall or it doesn't - which is exactly what you want to find out now, not on fitting day when the last unit lands 40 mm proud of the door architrave.
Place the units and appliances
Open the object library and switch to the Kitchen category. RoomPlot draws each item as real vector geometry, so a base unit, a sink, a hob, an oven, a fridge, and a dishwasher all read the way they would on an architect's drawing. Drop each one against its wall, then fine-tune:
- Resize to the real unit width with the sliders or by typing exact dimensions.
- Rotate a corner unit to sit into the angle.
- Mirror an appliance so its hinge or handle faces the right way.
- Recolour the fill and outline to separate, say, existing units from proposed ones.
Check the work triangle
The classic test of a kitchen layout is the triangle drawn between the sink, the hob, and the fridge - the three points a cook moves between constantly. The NKBA planning guidelines, the standard reference for kitchen designers, put real numbers on it:
- Each leg of the triangle should be between 1.2 m and 2.7 m (4-9 ft), measured from the centre-front of each appliance.
- The three legs together should total no more than 7.9 m (26 ft).
- No leg should cut through an island or peninsula by more than 305 mm (12 in) - if the cook has to walk around the island to get from hob to sink, the triangle has failed.
On the plan, this takes thirty seconds: tap between the three points with dimensions on and read the distances. Too tight and the cook is boxed in; too long and every meal is a hike. If the plan has a second sink or a separate tall oven, treat each extra work centre the same way - 1.2 m to 2.7 m from its neighbours.
Check the walkways and clearances
This is where paper plans earn their keep, because clearance mistakes are invisible in a showroom and obvious the day the units go in. Turn on dimensions and check the gaps against these figures:
- Facing runs (galley): allow 1,200 mm between them - unit and appliance doors open about 600 mm, so 1,200 mm lets one person pass an open dishwasher. 1,500 mm lets two people pass each other comfortably.
- Islands: a minimum of 1,000 mm of clear walkway on every working side, with 1,200 mm the more comfortable figure in a busy family kitchen.
- Work aisles: the NKBA recommends at least 1,070 mm (42 in) for one cook and 1,220 mm (48 in) where two people cook together.
- Doors: keep roughly 400 mm between a door swing and the nearest run so the door doesn't clip an open oven.
RoomPlot shows on-plan dimensions and a scale bar in metric or imperial, so you can confirm the runs and gangways add up rather than discovering the shortfall on fitting day. Add a zone label and the room's area is calculated automatically from the wall centrelines - useful for flooring and tiling quantities too.
Regs check. In England, Approved Document F expects kitchen extract ventilation of 30 l/s from a hood over the hob, or 60 l/s from a fan elsewhere in the room - and a recirculating hood on its own doesn't count as extract. Mark the extract route on the plan early; ducting decides where the hob can live. Requirements differ across the UK nations, so confirm with building control or a competent installer.
Export and share the plan
When the layout reads right, export it. Save a single-page PDF or PNG for a quick share, or build a multi-page Report PDF with your logo, an automatic area summary and a symbol legend for a client-ready proposal. Need it in CAD? Export DXF and the geometry opens in any CAD package or viewer at real-world size, ready for the fitter or the kitchen supplier's own design software to work from. Attach photos and notes to the plan - the meter cupboard, the wonky corner, the sill height - so the person quoting sees what you saw.
A measured kitchen plan replaces a back-of-envelope sketch with something a fitter can quote from and a client can sign off. Open RoomPlot, capture the room, lay out your units, and check the triangle and the walkways against the numbers above - and find more room-by-room guides on the guides index.