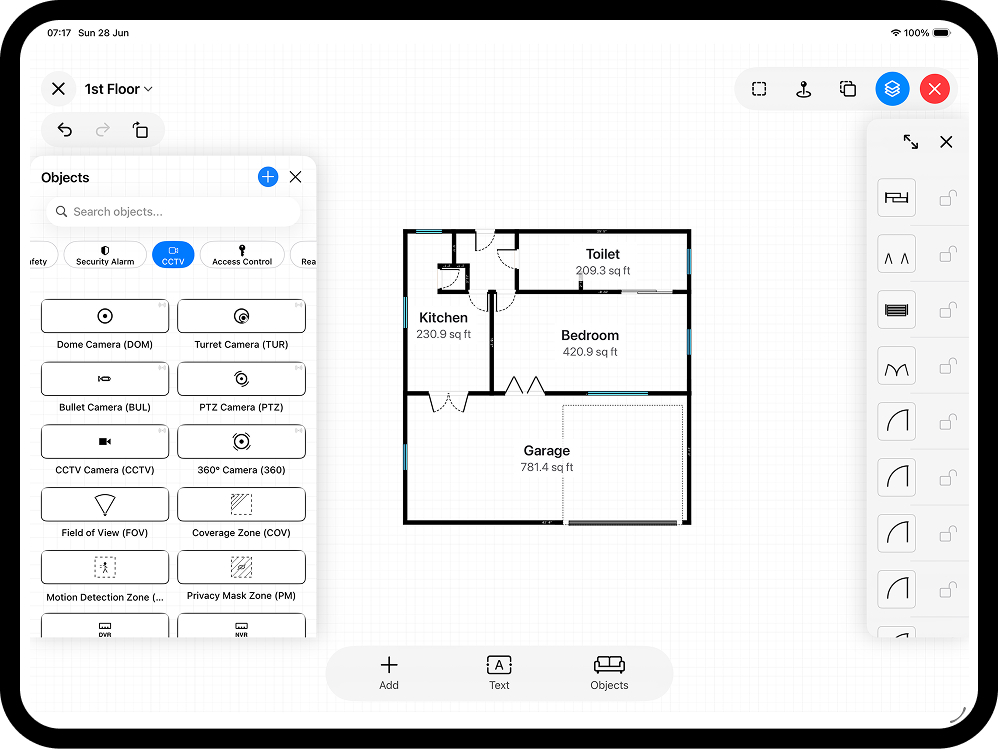
A restaurant floor plan is a business tool before it is a drawing. The layout decides how many covers you can serve, how far staff walk on every trip from the pass, and whether the fire risk assessment stands up. This guide works through the numbers that matter - space per cover, aisle widths, exit capacity - and shows how to produce a measured, zoned restaurant layout on an iPhone or iPad with RoomPlot, ready to hand to a landlord, shopfitter or licensing officer.
Start with the zones
Before a single table goes down, block the space into its jobs: dining, bar, kitchen, WCs, storage and the entrance. The long-standing industry rule of thumb is roughly 60% front of house for guests and 40% back of house for the kitchen, storage and staff areas - and quick-service concepts often flip that ratio, because a takeaway-heavy operation needs production space more than seats. Fixing the zones first stops you from cramming in tables and starving the kitchen of the space it needs at peak.
Sanity-check the whole unit against the concept too. Industry sizing guides put a typical fast-casual restaurant at around 1,600-1,800 sq ft, while fine dining commonly runs from about 2,100 to 5,400 sq ft. If the unit you are viewing cannot fit the covers your business plan needs at a comfortable density, the plan tells you before the lease does.
Measure the shell
Accurate walls make everything downstream easy. Scan the unit with LiDAR on a Pro iPhone or iPad to pick up the walls, doors and windows automatically, or draw them by hand with smart snapping on any device. Either way you end up with a fully editable 2D plan - viewable in 3D as well - that you can zone, furnish and dimension, with each room's area calculated automatically. Switch between metric and imperial to match whoever you are working with, and add a North marker if outdoor seating or window glare is part of the brief.
Size the seating with real numbers
Now fill the dining zone. RoomPlot's symbol library gives you tables and chairs to place, and you can duplicate a table-and-chairs group across the room in seconds. The density depends on the concept - current industry guidance clusters around these figures:
- Fast casual / counter service: roughly 10-11 sq ft (about 1 m²) per cover.
- Full-service dining: 12-15 sq ft (1.1-1.4 m²) per cover - the classic mid-market figure.
- Fine dining: 18-20 sq ft (1.7-1.9 m²) per cover, where the spacing is part of the product.
Spacing between tables matters as much as the headline density:
- Leave at least 450 mm (18 in) between the backs of occupied chairs so diners and staff can pass; where servers carry trays between tables, seating guides recommend around 1,500 mm (60 in) between table edges so real clearance remains once chairs are occupied.
- Keep main service aisles at roughly 1,100-1,200 mm (44-48 in) - they carry guest and server traffic in both directions.
- Provide a clear 900 mm accessible route to at least some tables so wheelchair users can reach a seat without furniture being moved.
Because the plan is measured, RoomPlot's dimensions confirm those gaps rather than leaving them to guesswork, and the automatic room areas tell you the floor area of each zone - divide it by the space-per-cover figure to sanity-check the seat count before you order furniture (see how to calculate floor area).
Plan the flow
A good layout moves people and plates without collisions. Walk the three main journeys on the plan:
- Guest: entrance to host point to seat to WC. Nobody should have to cut through the service aisle or squeeze past the bar queue.
- Server: pass to the furthest table and back. Every extra metre is walked hundreds of times a week - keep the run direct and one-way where possible.
- Goods and waste: delivery door to storage to kitchen, and waste out - ideally never crossing the dining room during service.
If any of those paths zig-zags through another zone, rework the layout now, while it costs nothing. Pin notes or photos to problem spots on the plan - a low beam, a floor gully, the extract route - so the issues travel with the drawing.
Get the exits right
In the UK, whoever runs a restaurant is the "responsible person" and must carry out a fire risk assessment under the Regulatory Reform (Fire Safety) Order 2005, and the escape routes have to match the number of people in the room. The government's fire safety risk assessment guidance for small and medium places of assembly gives concrete figures worth designing to from day one:
- An exit of 750 mm serves up to about 60 people, 850 mm up to about 110, and 1,050 mm up to about 220 - beyond that, allow roughly 5 mm of exit width per person.
- A room with only one exit is generally limited to 60 people - and the same limit applies to an exit door that opens inwards, unless it is fastened open.
- Escape routes should ideally be 1,050 mm wide, never less than 750 mm, and not less than 900 mm where wheelchair users may need them.
Exact requirements depend on the building and how occupancy is calculated, so confirm the numbers with your fire risk assessor or local fire and rescue service - but a plan that respects them from the start rarely needs redrawing. RoomPlot's fire-safety symbol library lets you mark emergency exits, escape-route arrows, extinguishers and call points directly on the measured plan, and you can build a dedicated fire escape plan from the same geometry, so the drawing you show the fire officer already tells the safety story.
Share the plan
When the layout works, export it for whoever needs it:
- A4 PDF or PNG at 300 dpi for the operator, the landlord or the licence pack.
- Multi-page branded PDF report with an area summary - useful when the same document goes to the landlord, the insurer and the licensing team.
- DXF when a shopfitter, kitchen designer or architect wants the geometry in CAD.
Multi-floor projects keep the ground-floor dining room and the basement prep kitchen in one file, and iCloud sync (Settings → iCloud Sync) keeps the plan available across your devices. The full set of guides is at our guides.
Design the restaurant on the device, not on a napkin. Open RoomPlot, measure the unit, zone it, lay out the covers to the numbers above and export a plan that works for the business plan and the fire officer alike.