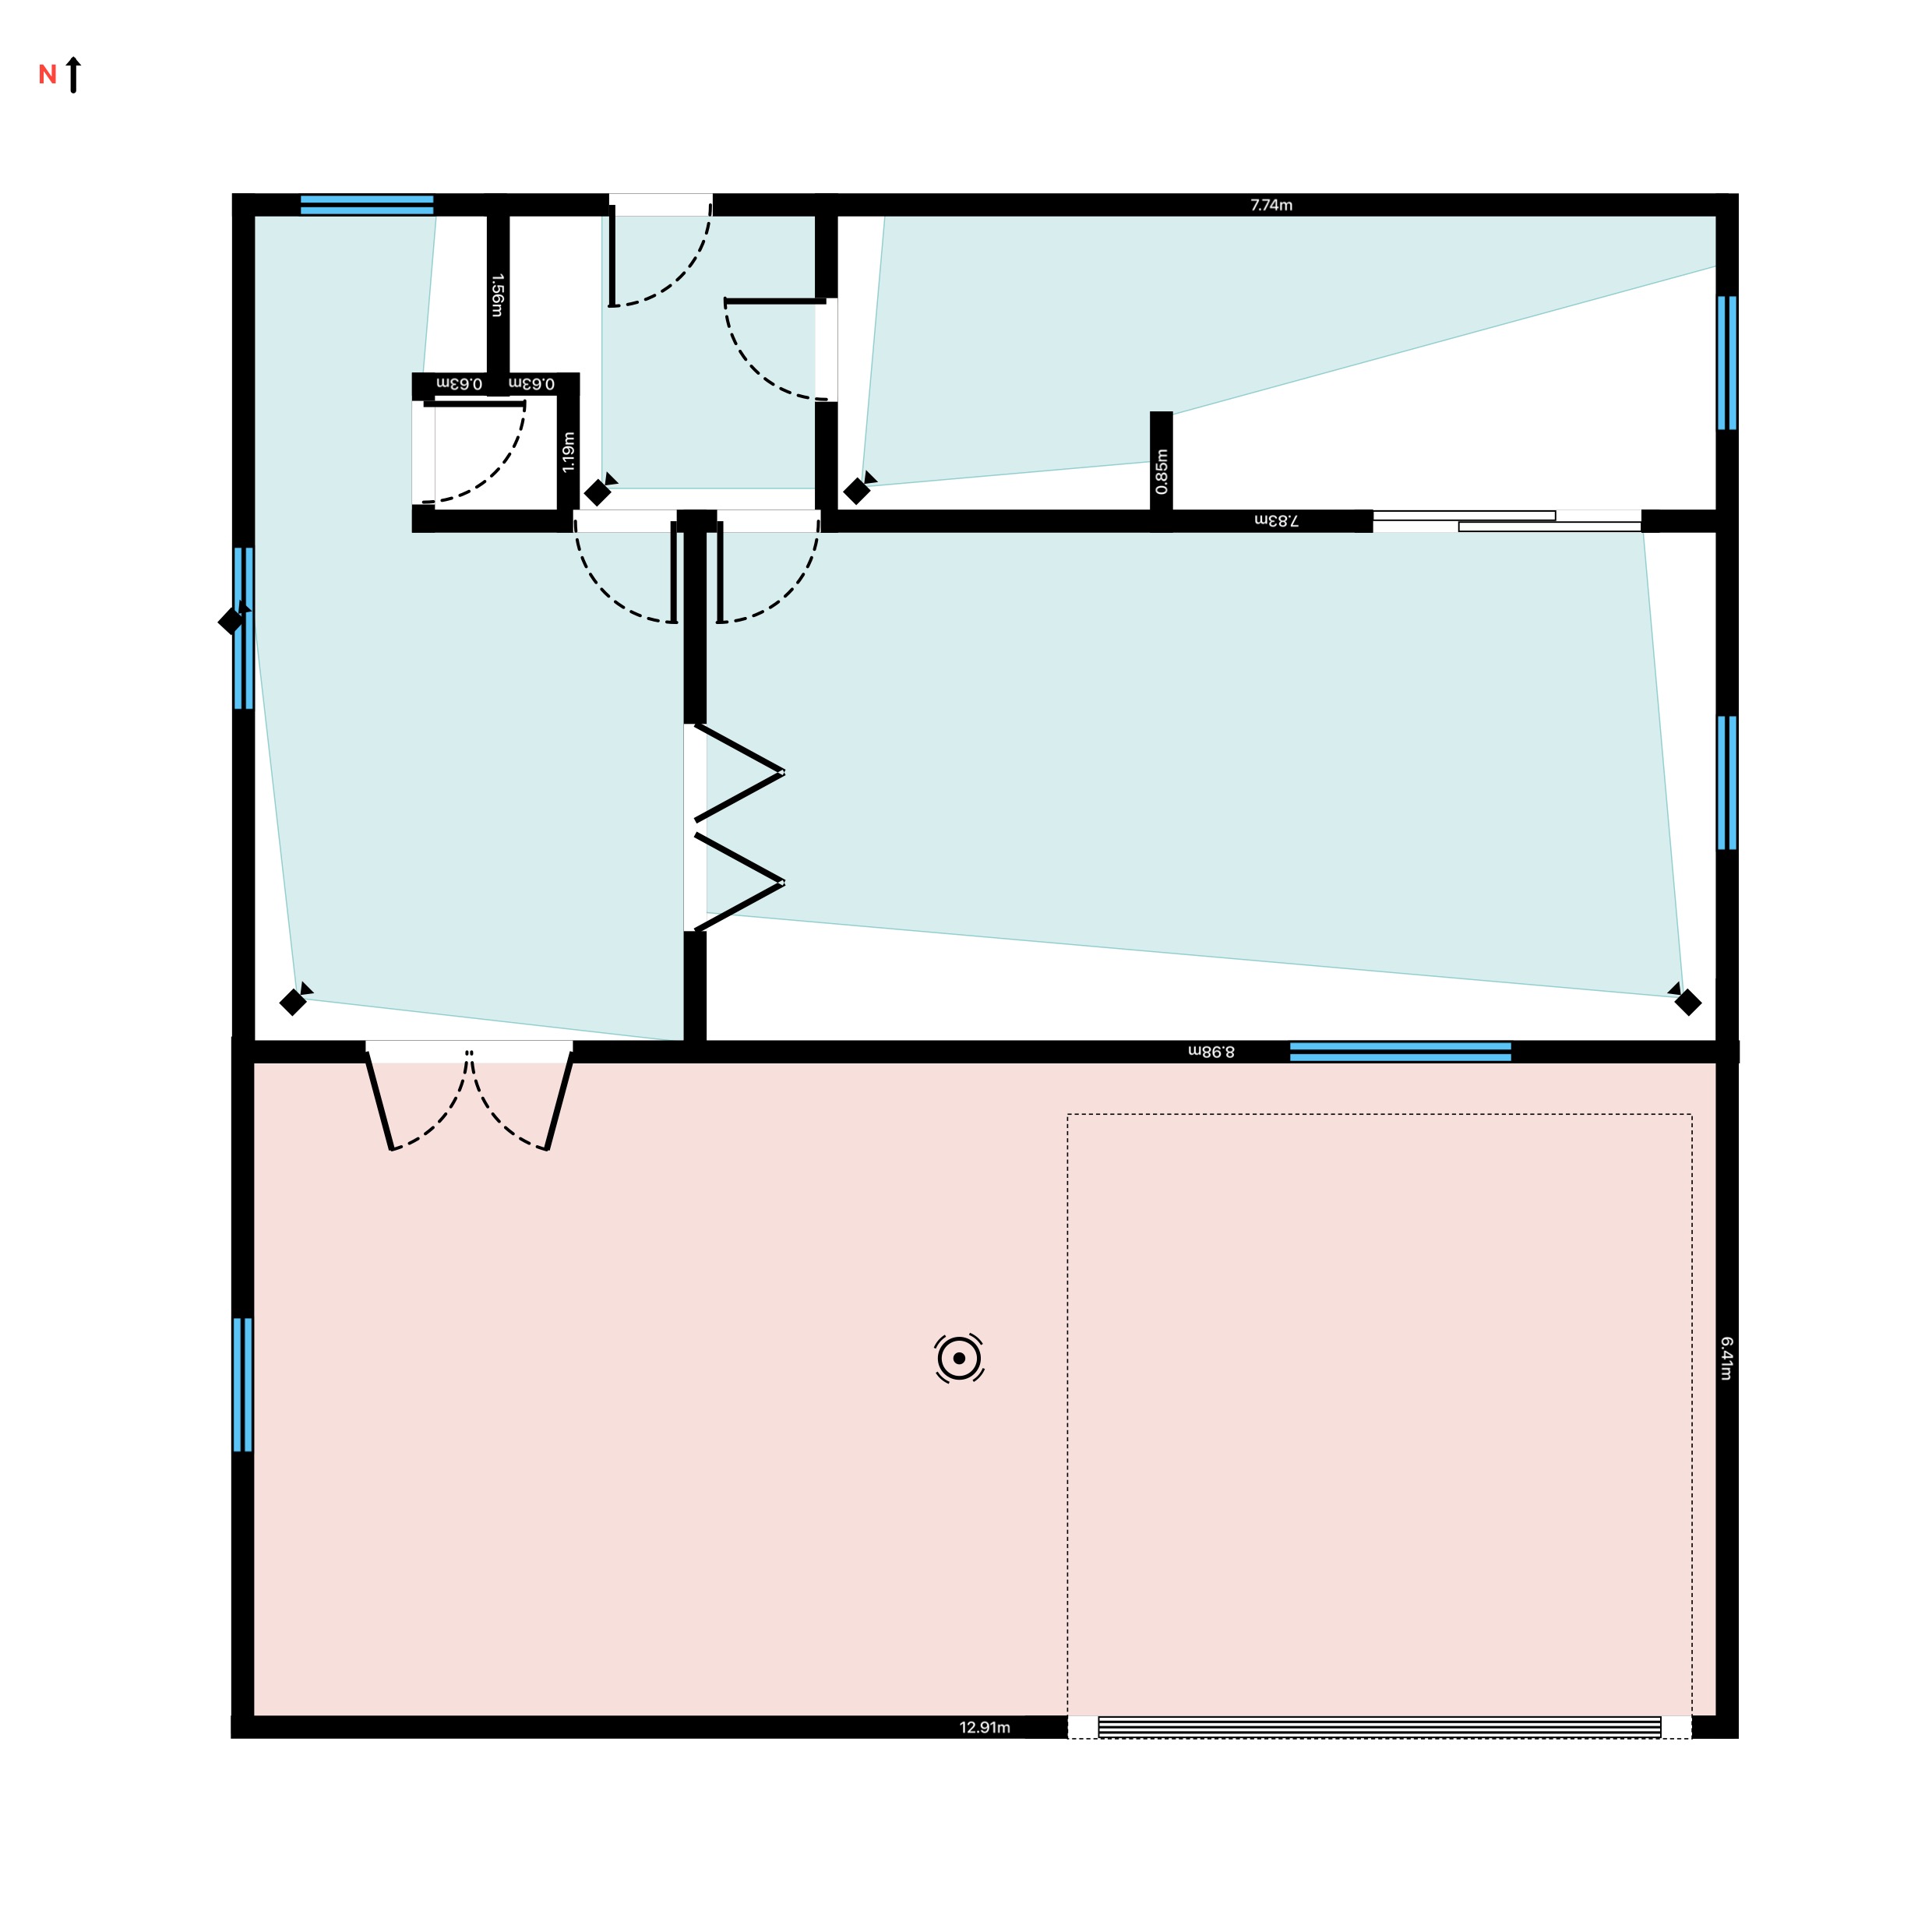
A warehouse is one of the harder buildings to cover with CCTV: racking aisles that block sightlines every few metres, loading docks where 100,000-lux daylight meets a 300-lux interior the moment a shutter opens, and open spans where one camera has to do the work of several. A typical medium warehouse ends up needing 16 to 32 cameras - guess the layout and you pay for units that overlap in the open while every aisle keeps a blind spot. This guide shows how to plan a warehouse CCTV layout on a floor plan with RoomPlot, using the image-quality levels from BS EN 62676-4 so you can prove what each camera covers before a single bracket goes up.
Where a warehouse is hard to cover
Effective warehouse surveillance is zone-based - you cover the points that matter rather than trying to paint every square metre evenly. Four zones drive the design, and each fails in a different way:
- Racking aisles - long and narrow, so each needs its own camera looking straight down it; a ceiling camera over the racking sees pallet tops, not people.
- Loading docks and shutters - the highest-value choke points for goods in and out, and the worst lighting in the building when the shutter is up.
- Open dispatch and marshalling areas - wide spans of shifting pallets and plant, suited to a PTZ or 360 camera mounted high.
- Entrances and the perimeter - personnel doors, the yard and the fence line, where you need face-level detail rather than an overview.
Start from an accurate plan
Coverage is only as good as the plan under it, so capture the building first. On a Pro iPhone or iPad, scan the space with LiDAR and RoomPlot detects the walls and openings automatically, merging area after area into one structure; on any device, draw the shell by hand with smart snapping keeping it square. Then place the racking runs as objects so the aisles on the plan match the aisles on the floor - that is what makes the coverage check that follows meaningful. Add the North marker too: it tells you which docks and rooflights will fight the sun, which decides where you must specify wide dynamic range.
Decide the image quality each zone needs
Before choosing hardware, fix the purpose of each camera using the DORI levels from BS EN 62676-4, the standard that defines how much pixel detail a task needs on the target:
- Detect - 25 px/m: reliably tell that a person or vehicle is present. Enough for the far end of a perimeter run.
- Observe - 62.5 px/m: follow activity and pick out distinctive clothing. The working level for open marshalling areas and aisles.
- Recognise - 125 px/m: confirm someone is a person you have seen before. What most clients actually want at docks and internal doors.
- Identify - 250 px/m: identify an unknown individual or read a plate. Reserve this for entrances, goods-out gates and ANPR positions.
Writing the target level against each zone turns a vague "cover the warehouse" brief into a checkable spec - and it stops the classic mistake of one wide lens at the dock that detects everything and identifies no one. Note the standard was updated in 2025 (IEC/EN 62676-4:2025) with revised minimum densities, so quote the edition you are designing to.
Pick the camera for each zone
RoomPlot's CCTV symbol library covers the full range - dome, turret, bullet, PTZ, 360, ANPR, thermal and multi-sensor - and each camera draws the area it actually covers the moment you place it. Match the camera and mounting height to the zone:
- Aisles: a camera at the end of each aisle, aimed straight down it, mounted at 3-4 m on the racking uprights rather than the ceiling so it sees faces, not pallet tops. For aisles longer than about 20 m, add a mid-aisle unit or the far end drops below Observe level.
- Docks: a dome or turret at 4-5 m above each shutter. Specify true (multi-exposure) WDR of around 120 dB - without it the camera either blows out the yard or blacks out the interior when the shutter opens.
- Open areas: a PTZ or 360 camera mounted high over the marshalling span; as a rule of thumb, budget roughly one camera per 100-150 m² of open floor at standard resolution, tighter over high-value picking.
- Entrances: a camera at 2.5-3 m facing each personnel door head-on, set to hit Identify-level detail at the threshold.
- Perimeter: bullets with IR along the wall or fence line at roughly 20-30 m spacing, angled to cover the run between them.
Tip. Aim the aisle cameras before you add more units. RoomPlot's coverage is wall-occluded - a camera pointed down an aisle only lights up the part it can actually see, and the blind spot behind the racking updates live as you rotate it - so you can prove one camera clears an aisle instead of doubling up on faith.
Check the coverage on the plan
This is where a plan beats a parts list. Every camera's field of view is editable - set the FOV from 10 to 360 degrees and the range up to 40 metres, and rotate the symbol to aim it - so you can tune each one until the overlaps are sensible and the gaps are gone. Because the cones are raycast against the walls and racking, the plan shows the true visible area, not an optimistic circle. Walk the zone list from the top of this guide and confirm each one is covered at the DORI level you wrote against it; a note pinned to each camera symbol recording its target level and mounting height turns the plan into a commissioning checklist. Toggle coverage off for a clean layout drawing when you are done.
Stay on the right side of UK GDPR
In the UK, workplace CCTV is regulated by the UK GDPR and the Data Protection Act 2018, and the ICO's video surveillance guidance is the reference. The layout stage is the right time to design compliance in:
- Signage: place clear signs at every entrance to the monitored area stating who operates the system, why, and who to contact - mark sign positions on the plan alongside the cameras.
- Proportionality: aim cameras at stock, choke points and entrances, not at welfare areas; avoid break rooms and toilets, and treat audio recording as off the table without exceptional justification.
- Retention: keep footage only as long as needed - around 30 days is the widely used commercial norm - and document the period.
- DPIA: large-scale monitoring of staff can require a Data Protection Impact Assessment, so flag it to the client before installation, and check the ICO's current guidance where the use case is unusual.
A zone plan exported from the same project is a ready-made annex for the client's DPIA or surveillance policy - one more reason to design on a plan rather than a walkround.
Export the design
When the layout works, export it. A single-page PDF or PNG suits a quick quote; the multi-page branded Report PDF adds a cover, an automatic legend that counts every distinct camera and symbol used, and your company logo and signature. The Fire/Security report preset keeps the coverage overlays on, so the client sees exactly what they are paying to see. Need the geometry in CAD for a main contractor? Export DXF and it opens in any CAD package or viewer.
New to coverage planning? Start with our guide to planning CCTV camera coverage. Browse the full set of RoomPlot guides, then map your warehouse and prove the coverage before you quote.